RB Robotics
|
|
|
RB Robotics |
|
|
||
|
|
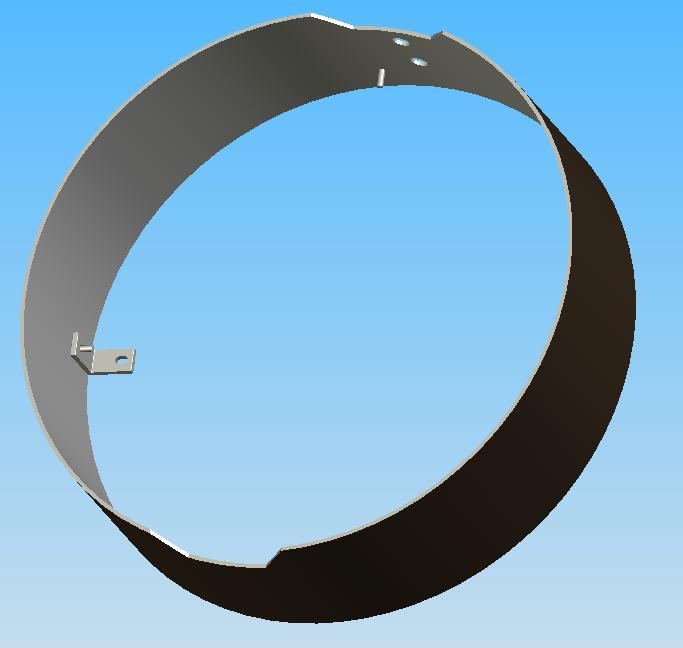
Skirt AssemblyApproximate Build Time: Parts List
Assembly Steps:
( )
Install fiber washer onto the charger pin. Make sure that
the shoulder faces the thread. Repeat for second charge pin
( )
Insert the charge pin through the top hole in the lower
skirt. Install another fiber washer on the inside of the lower
skirt on to the charge pin with the shoulder facing inward
( ) Install #10 lock washer
( ) Install #10 nut
( ) Repeat for bottom hole
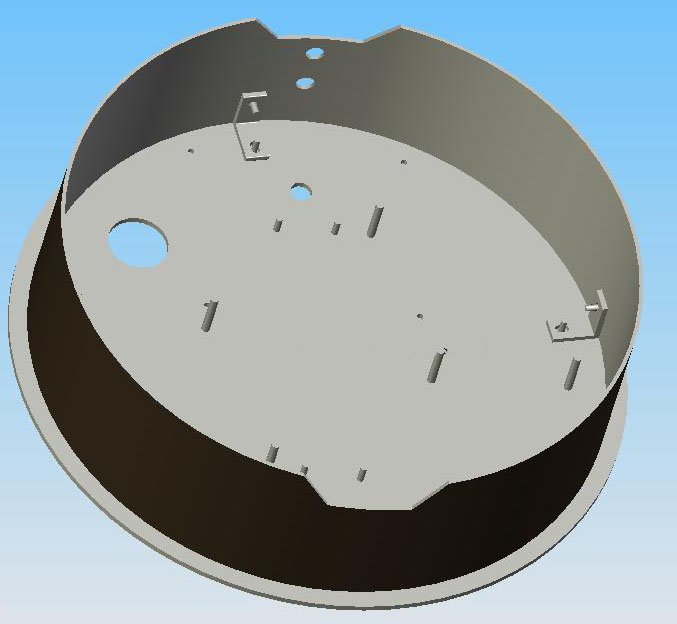
( ) Install (4) lower skirt brackets on to the lower skirt using (4) #6 Keps nuts. Make sure the slotted end is pointing down. Do not tighten the nuts at this time.
( ) Mount the lower skirt to the base plate. Orientate the lower skirt such that the charge pins are facing forward based on the large hole in the base plate.
( ) Install (4) #6 Keps nuts to secure lower skirt to the base plate.
( )
Tighten the (4) #6 Keps nuts previously left loose on the
lower skirt.
|
|
|
Copyright © 2005 RB Robotics | |